Custom Straighten Tool
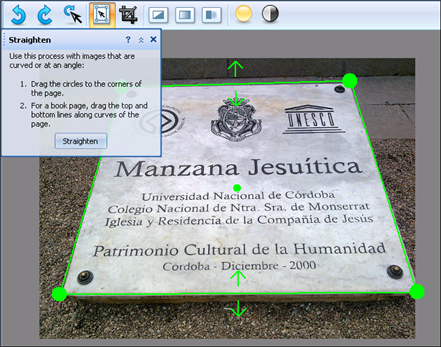
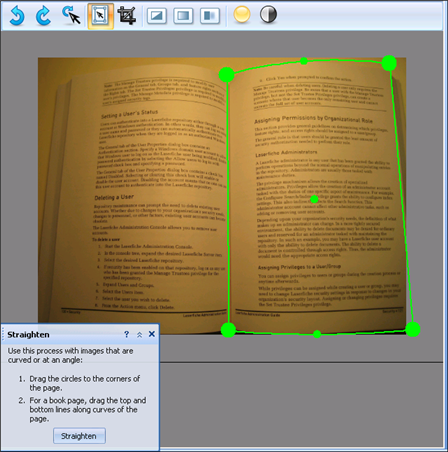
The Custom Straighten Tool dewarps images that are curved or at an angle. This should help the OCR process capture all the words on the page, because OCR works best with lines of text that appear in straight lines on a page (square with the edges). You can straighten images that were captured with the camera held at an angle to the page instead of parallel to it ( show me). You can also manually straighten the curve of a book page (
 show me how).


To use the Custom Straighten Tool
- In the Image Editor, select Straighten from the Manual Process Toolbar.
- Drag the circles to the corners of the page. If the page does not have curved edges, click Straighten now. If it does have curved pages (for example, if it is a book page), continue to the next step.
- If the page has curved edges, drag the lines on the top and bottom. Clicking on the line will create a point, and as you drag it, the line will curve toward that point. Align the curves to the edges of the page. Click Straighten.
Related Topics
![]() show me). You can also manually straighten the curve of a book page (
show me). You can also manually straighten the curve of a book page (![]() show me how).
show me how).